Thursday 26 August 2010

Numidian Javlinmen

After promising for a few updates I've finally got some pictures of my finished Numidian Skirmishers. These are Numidian Javlinmen by Magister Militum. They come in a pack of 30 figures with 2 different poses and I've spread them over 6 bases of 5 models each to give me two units for my money.

These models really were a pleasure to paint, probably the best 10mm models I've come across so far. I'm fairly pleased with the paint job as well, so I've posted the pictures a little bigger than normal (you can click on them to make them even bigger and even zoom in from there should you wish).

They have nice crisp details and only on the legs do you have to force the detail with the paint job, the rest of the model can be just highlighting raised areas.


The bases aren't totally finished, they need edging with yellow, and I'd like to add some dead coloured static grass or little silflor tufts of dead grass just to liven up the bases. I hand painted a different shield design for each unit, one has them painted like rawhide, the other has leather shields with the Carthage stylised figure in white, which seems to appear on a few Carthage shields. I rushed the stylised figures a bit and the finish is a bit shabby, but I'm hopeful of doing better on my upcoming Numidian Horsemen.

The actual leather shields themselves were painted with a basecoat of GW Scorched Brown and then stippled with a stiff brush with a couple of layers of GW Dark Flesh and then a final stippled layer of Vermin Brown. This give the effect of depth and texture on the flat surface.

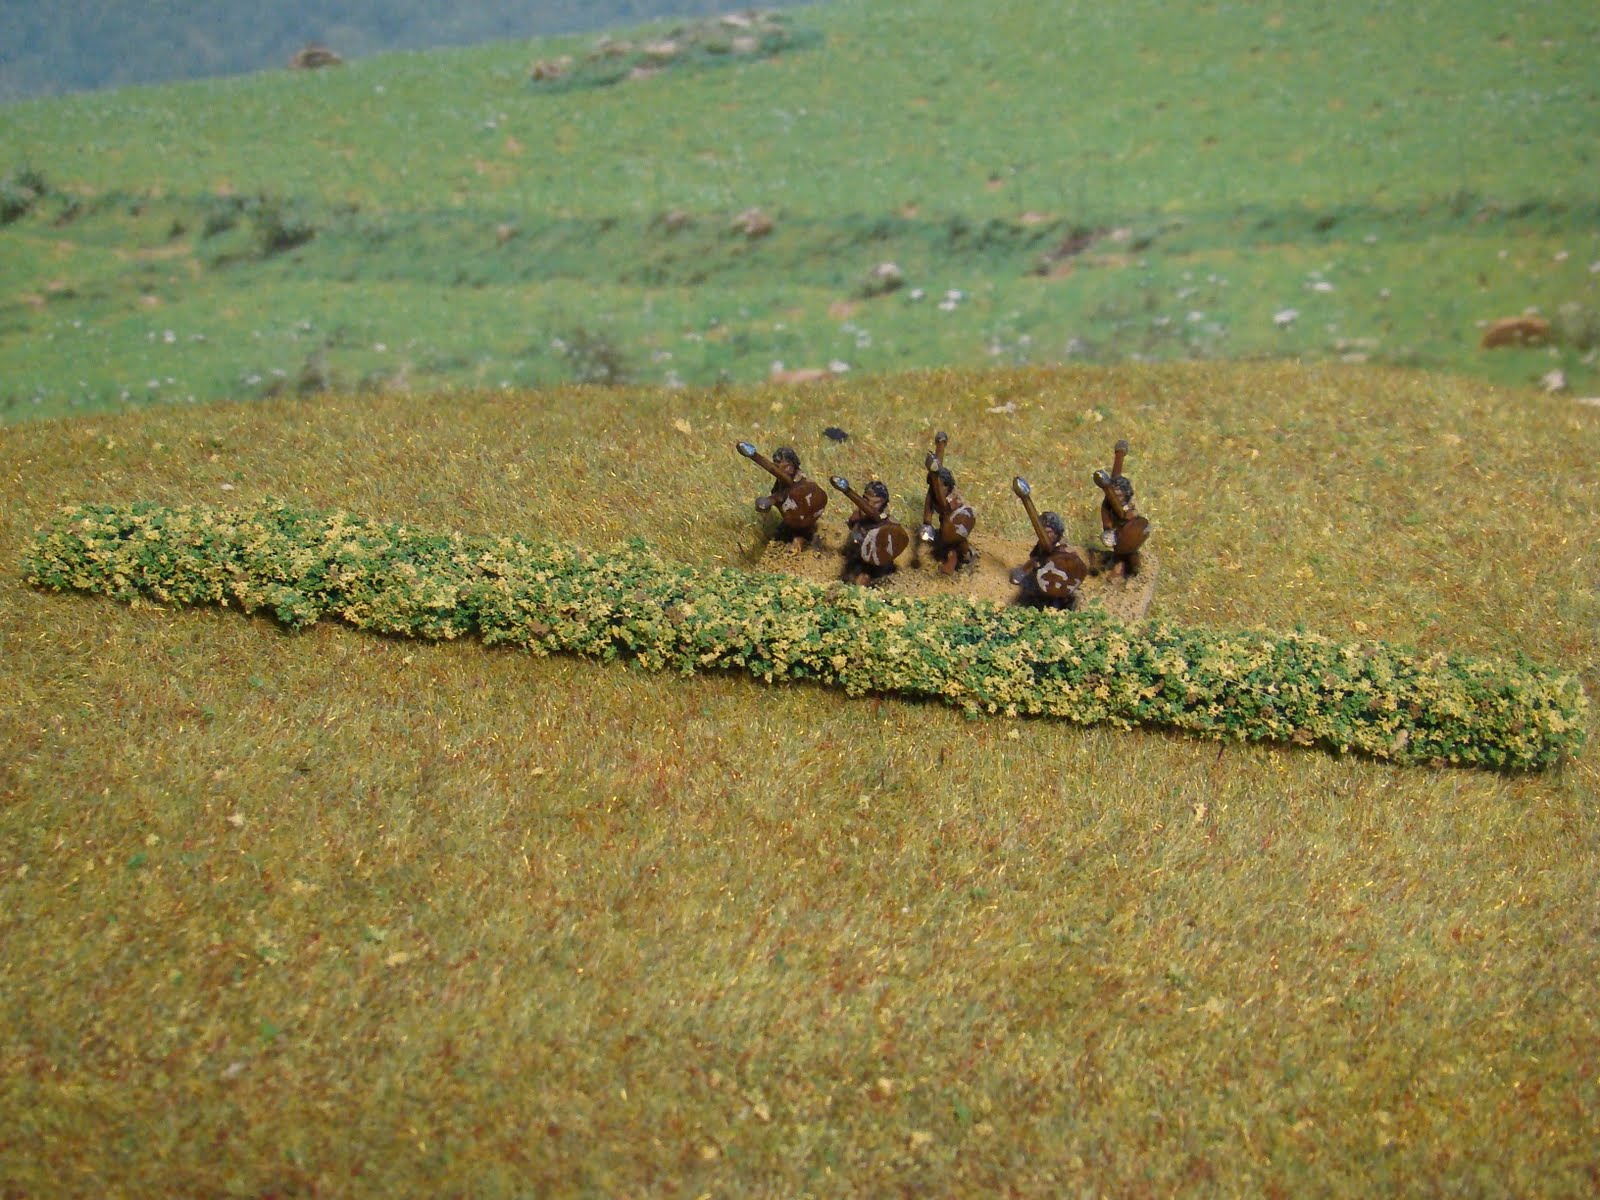
A group shot of them ready to harass the enemy flanks!!


Hopefully next time it'll be their partners in crime the Numidian Light Cavalry. I'm putting the finishing touches to 3 units at the moment.

Thanks for looking!

Monday 23 August 2010

Painting Sticks

Ever since I started the blog I've been inundated with literally no requests at all about how I batch paint warmaster figures quickly. So in order to satisfy these fictitious people I thought I'd post an explanation.

It's best illustrated with a picture;


Once I've cleaned up the models and filed the bases flat, I group them together into poses, sometimes grouping very similar poses together, you can see in the picture above (click on it to make it larger) that the champion and standard bearer of these Carthaginian "Hannibal's Veterans" at the right end of the row are just variations on one of the standard infantry poses.

The sticks themselves are 3mm MDF cut into thin strips that I made myself, but I have seen lolly-sticks used as well.

I use a small amount of blu-tack to attach them to the stick and then spray them black, before painting them. The main advantage to this method is speed. You paint the same detail on the models at the same time, but I've found an even quicker method is to move the models as little as possible. For example if you are painting the hem of a robe it would take typically 3 or 4 brush strokes to go all round the model. Instead of painting the robe on each model in turn (which on the above stick would involve moving it 54 times!) - paint the same brush-stroke on each model in turn, then move the stick to another angle (moving it just 3 times instead).

I'll admit that this method can get boring, but ultimately if you have to paint 15-30 of the same figure in the same way it is going to be a bit boring anyway, so you may as well do it in the most efficient way!

I normally only use this method for homogeneous infantry blocks. Skirmishers I tend to base 5 to a stand, so there is enough room to paint them, same with light cavalry. If I am creating small dioramas for my command stands (as I'm doing with my Carthage, Viking and Persian figures) I also paint them on sticks so I can have more room and do a good job on them.

I've seen several similar examples on the internet of batch painting, if you have any thoughts please leave a comment.

Thanks for looking!

Sunday 22 August 2010

Warmaster Hedges

Ok, the promised hedges tutorial.

With defended terrain offering possibility in Warmaster of even the humblest infantry holding off a cavalry charge (it reduces "to hit" rolls from 4+ to 5+), it's important to have a variety of defensible terrain in your collection.

N-Gauge railway models are a great source of terrain, and I have bought some dry stone walling designed for model train layouts for my collection. However although nice, it does tend to come at a price, and almost always need further painting etc as well (as model train companies don't seem to go in for using painting to enhance scale, things tending to be monotone). For those people looking to save money and not spend ages making terrain, short cuts and nifty tricks using cheap items are great.

I've made a set of hedges using a household scouring pad and a bag of flock.

The scouring pad is about 8mm thick and I cut it lengthways into strips about 10mm wide, giving me a series of strips about 8x10x250mm.


I then spread some scatter grip glue from Antenociti's Workshop onto a piece of paper and dipped the scouring pad on three sides, before dipping/rolling it in flock. Scatter grip is good for this as it is VERY tacky and remains tacky after it is dry, ensuring the flock adheres to the irregular surface of the pad. You also need to dab some glue and flock onto the ends of the strip as well (but the bottom edge can be left without).

The flock I used was from AW as well, but I'm not sure they still make it. It is a mixed colour flock, predominately light green, but with some dark green and yellow mixed in. As I mentioned when describing my tree in an earlier post, when replicating nature getting layers and textures into the model is vital, and so multi shaded flock is a great cheat.

The finished hedge with some mercurial Numidian skirmishers lurking behind it!

Once dry it just needs a coat of matt varnish spray to "kill" the tackiness of the scatter grip, otherwise it is still so tacky that dust, cat hair and generally anything that can will stick to it!

Thanks for looking!

Saturday 21 August 2010

Left handed

I've had some good news this week, my right hand is nowhere near as badly injured as the hospital first thought. The break is healing well and although a bit knackered all ligaments are present and correct. The best news is the cast is off my arm! On with the painting! Although at the moment I can only do 10-15 minutes before it hurts a bit much and I have to take a break (if you'll excuse the pun).

Meanwhile I thought I'd share a picture of what I got upto when I was restricted to painting left-handed. This is a piece of ~28mm resin terrain that I fished out of a bargain bucket at the Attack wargames show in Devizes (£1.50).


I based it dark brown and then drybrushed it progressively lighter brown and finally with a sort of grey/green colour. Its not great, but as it was done with a massive brush and one handed with my wrong hand I'll take it!

I finished it off by building up layers of flock, which is the best way of adding realism to natural scenery. I used; mixed autumn flock (antinociti's workshop), dark green clump foliage, scorched grass static grass, and finally some dead leaves (AW). Final effect is loads better than the painting alone would have been.

I've also painted up a set of three resin pyramids I bought at Attack. They are the wrong scale for warmaster, probably being 6mm, or even smaller maybe 2mm! However they were only £2 for the set and I think they are nice pieces, they can go on the edge of a desert board, or maybe even (with a bit of imagination) be the tops of pyramids almost buried in the shifting sands!


Coming up soon - Numidian skirmishers, Numidian light cavalry (both of which you can see lurking in the pyramids picture) & a very cheap warmaster hedges tutorial.

Thanks for looking!

Wednesday 4 August 2010

Carthage Infantry

These guys are Magister Militum Libyan Spearmen, which are Carthage Infantry in Warmaster Ancients. They were quite nice to paint, as are most MM figures and have a fair bit of detail on them.


Seeing them all based and ranked up I think justifies the decision to base them 8 figures to a stand. Given their more bulky profiles 2 ranks of 4 is enough to fill out the stand without it looking crowded.


I've gone for mainly bronze coloured metal, as that seems to be the historical consensus of Carthage arms and armour. I was intending on painting on shield designs, but with the relatively large shield bosses I couldn't decide what design would work. I may revisit this later if I can think of/find anything suitable.


My wife saw this picture and rightly pointed out that the 1p coin is the wrong way round as it could be a 2p! I'll have to correct that for my next pictures.

Tuesday 3 August 2010

A Gaul-ing piece of misfortune

The Gallic allies for my Carthage force are now finished, but sadly they will be my last Warmaster unit for a while as I've broken the thumb on my right-hand and it's in a cast. I can paint a bit with my left, but not steadily enough for 10mm!

Enough with my misfortune, onto the picture of the Gauls!

There are 5 units in total. That's 15 stands, or 120 figures!


They are not actually a "gallic" warband, in figure manufacturer's speak, as I used a mixture of different figures. I used 4 different packs of vaguely hairy barbarian types from Pendraken and mixed them through the units. My justification is that personally I feel all these barbarian hordes contemporary with the Romans would have been a fairly mixed rabble, with mixed equipment. It is more than likely that some would have scavenged mail off dead enemies, possibly helmets and shields as well.

The packs used were:
Gallic Warband AG1 (Long shields, moustaches, bare torsos. 3 poses; sword, 2x spear)
Dacian Javlinman AD6 (small oval shields, long spears, cloaks, full beards. 3 poses)
Anglo Saxon Great Fyrd AS4 (round shields, short spears, moustaches. 3 poses)
Anglo Saxon Select Fyrd AS3 (Round shields, chainmail, moustaches. 3 poses; axe, sword, spear)


I batch painted them on painting sticks (like lolly sticks), slowly building up to each model being individual. I'd paint an even number of models with 3 different hair colours, then paint alternate models with 5 different shield colours, then 3 different tunics. Finally I based them up and hand painted on some random shield designs with research on the internet into Gallic shields. The result is that even without any individual shield designs I can have 540 unique combinations of model and colour scheme. Resulting in a truly random, but hopefully unified, rabble.

These pictures have been taken using a backdrop, which I haven't used before (just a random landscape from the internet), and I'm fairly pleased with the result.

I'm going to take pictures of anything else I have finished and maybe some terrain as well. On the upside my hand means I'll be bored and more likely to update the blog more often, the downside is I'm not sure what I'll find to blog about!!